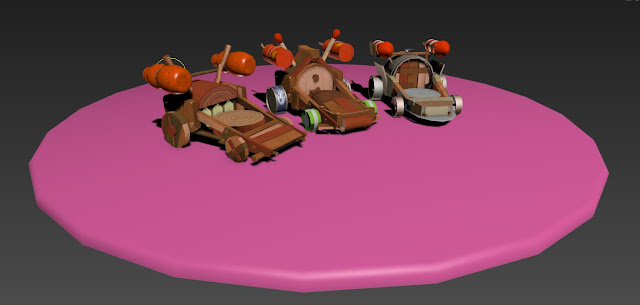
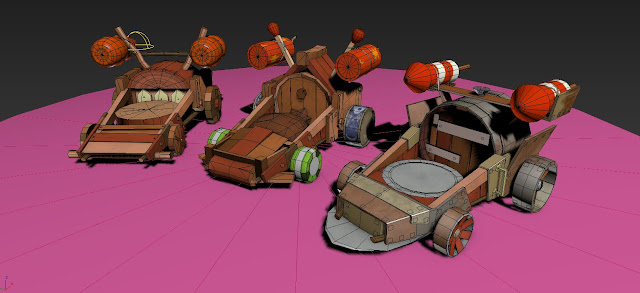
To conclude the production of the Gravity Karts...
The texturing process for the Karts was pretty quick. Due to the art style of the Angry Birds being bold and simple in colour and surface definitions, I made textures that held simple pencil drawn details to suggest what the material is, using wide brush strokes to create subtle tonal changes on the overall surface. I also blurred the line details slightly to give some anti aliasing in the pixels, removing some of the jagged edged look you get from using low res textures.
 |
| 128 x 128 |
If the project was required to be made in UE4 I would have relied on Material Instances to change the Albedo colour of materials such as the wood, which is seen in various different colours in the concepts but is pretty much the same texture. However as i'm presenting the Karts in Sketchfab I will need to make multiple version of the texture in different colours, which is a shame for the efficiency of the model.
Unwrapping the models to the textures was probably the more time consuming side to texturing. Using the concept images as a reference for where the line details should be visible I tried to keep the overall pattern layout of each component the same, although it couldn't be achieved completely identically.


This was the first time I've used Sketchfab as a 3D model viewer, but it was fairly intuitive and easy to implement my PBR ready texture maps. For the presentation of the Karts I created a base for them to stand on and used the edge outline trick by duplicating the geometry, extruding each face out by 2cm and then flipping the Normals, so only the back faces are shown. This is an expensive trick as it doubles your triangle count, so it would only be used as a visual effect for Sketchfab, If it were Unreal Engine you would be able to do the same trick by using an outline material and plugging it into the 'Blendables' of a PostProcess volume.
I've tweaked the lighting and environment to emphasis the material properties and showcase the models and I'm happy with the results.
Unwrapping the models to the textures was probably the more time consuming side to texturing. Using the concept images as a reference for where the line details should be visible I tried to keep the overall pattern layout of each component the same, although it couldn't be achieved completely identically.
Dividing up the UV's into different islands was useful to make the most of texture sheets.
After unwrapping all of the Karts to there textures and creating assisting maps for materials that needed it such as the metals, I prepared the models to import into Sketchfab.
After unwrapping all of the Karts to there textures and creating assisting maps for materials that needed it such as the metals, I prepared the models to import into Sketchfab.


This was the first time I've used Sketchfab as a 3D model viewer, but it was fairly intuitive and easy to implement my PBR ready texture maps. For the presentation of the Karts I created a base for them to stand on and used the edge outline trick by duplicating the geometry, extruding each face out by 2cm and then flipping the Normals, so only the back faces are shown. This is an expensive trick as it doubles your triangle count, so it would only be used as a visual effect for Sketchfab, If it were Unreal Engine you would be able to do the same trick by using an outline material and plugging it into the 'Blendables' of a PostProcess volume.
I've tweaked the lighting and environment to emphasis the material properties and showcase the models and I'm happy with the results.
 |
| Rendered in Sketchfab |


No comments:
Post a Comment