Firstly I returned to modelling to make some more assets. Now that I had a base environment with a lighting and atmosphere set up close to my concept, I needed to start populating the scene with props to make it look more convincing of the vandalised and grungy aesthetic I'm striving for.
I've made some low poly assets of objects that are commonly found in neglected urban environments.


 |
| All textured with 1 x 1024x1024 |


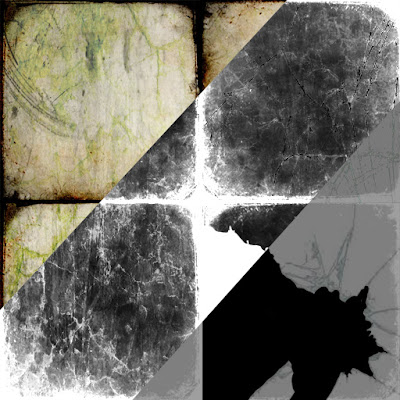
The rubble I created by overlaying different images of junk and debris and then making a height map for them. In Unreal I'm utilising a curved plane and Parralax Occlusion Mapping to give the effect of there being varying heights and non uniform edges to the plane.

 I've now populated the level with the props, focusing on the less interesting areas first and the places
where rubbish would naturally collect.


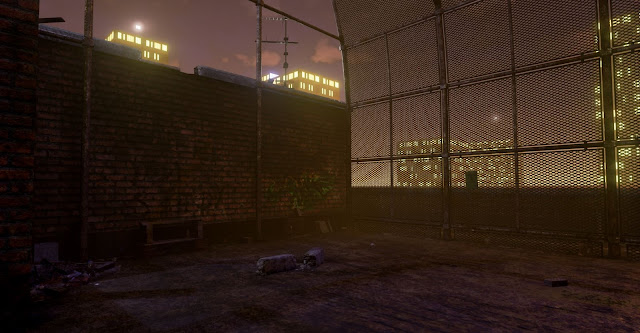
After populating the level with all of the smaller props I didn't realise that I had gone over the triangle count and I had to go back into 3ds Max to reduce the tris where possible. However this time there wasn't anything that could optimised further without comprimising the meshes shape, so I had to delete some of the back faces from the cage mesh that you wouldn't see from player height and I reevaluated the placement of props, only adding them were it benefited the composition.
With some gaps to fill in the overall aesthetic of the level, but running out of triangles, I decided to make some assets from Alphas. I created a tarpaulin sheet to break up the silhouette of the cage and enhance the variety of scale, as at the minute most of the detail is on the floor.
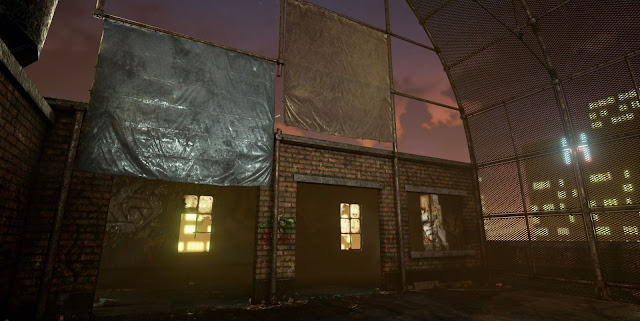
 The neon sign behind is also just an alpha, but I've masked off the writing to allow the emissive light to only show on that. The neon sign material is set to inject the emissive value into the LightPropagationVolume and on the StaticMesh I've ticked 'Use Emissive for Static Lighting'. This combined with the tarpaulin being set to a Subsurface material gives the impression of the sheet being slightly transparent and the neon sign having light properties.


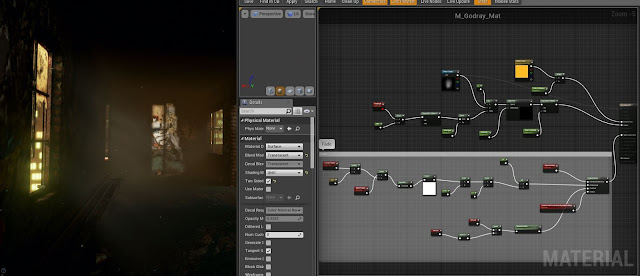
With some planes I've made godrays for the windows. The material consists of just a smoke cloud alpha texture, the parameters being set to 'Translucent' and 'Unlit' and a calculation of the camera position to fade out the godray when you walk towards it. The effect works well in most cases but I've found that it's best to place it in an area where the player cant navigate around it to much as it can become skewed and break the illusion if looked at from a bad angle. I've seen a cylinder used for godrays before which works well as you cant see any edges, however for me a plane will do as I don't have the tri's. You can also add particle effect to the godray to get cool floating dust inside.
I've also added glass to the windows now, something I hadn't intended originally but it adds a lot to the visuals and only required a plane to make.
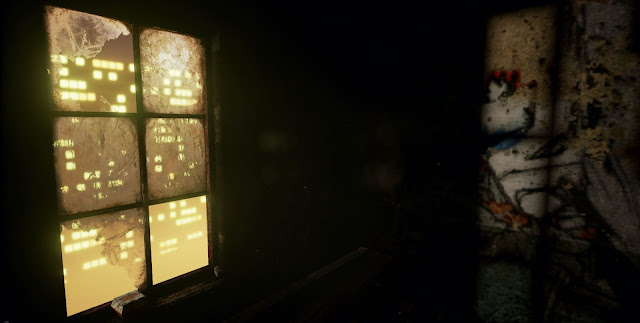
The PostProcessVolume is something I've been playing with also. I utilised the colour lookup table to tweak the levels and colour balance slightly, along with the other useful features in the settings such as, Global Illumination, AO and I've used the depth of field to help emphasize the fog by blurring the city lights.
With everything becoming finalised, I'm about to do the final light bake then start to execute the final renders also. The only problem I'm having now is eradicating this shadow problem that appears on some of the glass panes, I'm not sure where it's coming from, it could potentially be light map issues but the other panes have the same spacing so I don't think it's that. The light bake settings I'm using are large and time consuming but are giving good results all over the level especially in the interior spaces, so i'm going to keep using them.

After populating the level with all of the smaller props I didn't realise that I had gone over the triangle count and I had to go back into 3ds Max to reduce the tris where possible. However this time there wasn't anything that could optimised further without comprimising the meshes shape, so I had to delete some of the back faces from the cage mesh that you wouldn't see from player height and I reevaluated the placement of props, only adding them were it benefited the composition.
With some gaps to fill in the overall aesthetic of the level, but running out of triangles, I decided to make some assets from Alphas. I created a tarpaulin sheet to break up the silhouette of the cage and enhance the variety of scale, as at the minute most of the detail is on the floor.

 The neon sign behind is also just an alpha, but I've masked off the writing to allow the emissive light to only show on that. The neon sign material is set to inject the emissive value into the LightPropagationVolume and on the StaticMesh I've ticked 'Use Emissive for Static Lighting'. This combined with the tarpaulin being set to a Subsurface material gives the impression of the sheet being slightly transparent and the neon sign having light properties.

Another alpha I chose to make was some vines. I felt like the scene definitely needed some greenery, even though it is set 10 stories of the ground.
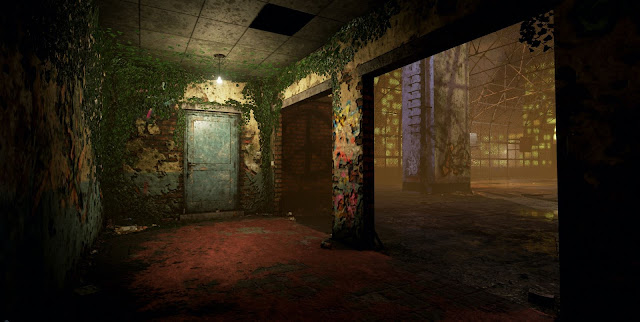
This interior space felt a little dull before as there is nothing in it, however the vines have now added some visual interest and variance from the building on the other side of the court. Even though its the same visual style throughout I'm trying to make each space visually different in some way to allow for multiple points of interest. The vines in harmony with other materials and a coloured light give this space a slightly different mood to the other tones featured outside.


This interior space felt a little dull before as there is nothing in it, however the vines have now added some visual interest and variance from the building on the other side of the court. Even though its the same visual style throughout I'm trying to make each space visually different in some way to allow for multiple points of interest. The vines in harmony with other materials and a coloured light give this space a slightly different mood to the other tones featured outside.
With some planes I've made godrays for the windows. The material consists of just a smoke cloud alpha texture, the parameters being set to 'Translucent' and 'Unlit' and a calculation of the camera position to fade out the godray when you walk towards it. The effect works well in most cases but I've found that it's best to place it in an area where the player cant navigate around it to much as it can become skewed and break the illusion if looked at from a bad angle. I've seen a cylinder used for godrays before which works well as you cant see any edges, however for me a plane will do as I don't have the tri's. You can also add particle effect to the godray to get cool floating dust inside.

I've also added glass to the windows now, something I hadn't intended originally but it adds a lot to the visuals and only required a plane to make.

The PostProcessVolume is something I've been playing with also. I utilised the colour lookup table to tweak the levels and colour balance slightly, along with the other useful features in the settings such as, Global Illumination, AO and I've used the depth of field to help emphasize the fog by blurring the city lights.
 |
| Without PostProcess |
 |
| With PostProcess |


